Welcome!

When I first had to go gluten free, I did not know where to begin. I tried so many recipes and so many of them were awful. I decided to create a food blog to share my successful gluten free recipes. I am so grateful to all those people that have taken the time to give us good recipes and yummy gluten free products.

Thursday, April 21, 2011

Snickerdoodles

I did not realize how much I liked snickerdoodles until I couldn't have them anymore.  I think that this recipe for snickerdoodles is much better than the original.  One thing about using gluten free flours is that sometimes it makes the recipe so much better.

You will need:

1 cup shortening
1 1/2 cups sugar
2 eggs
1 1/3 cups rice flour
2/3 cup tapioca flour
2/3 cup cornstarch
1 1/2 teaspoons xanthan/guar gum
2 teaspoons cream of tartar
1 teaspoon baking soda
1/2 teaspoon salt
cinnamon and sugar for rolling

Step One:  Beat together shortening, sugar, and eggs until creamy.

Step Two: In a separate bowl, combine flours, cornstarch, xanthan gum, cream of tartar, baking soda, and salt. Add to creamed mixture and mix thoroughly. Chill dough for 10 to 15 minutes.

Step Three: Preheat oven to 400 degrees.  Mix cinnamon and sugar in a bowl or shallow dish.

Step Four: Roll dough into small balls (slightly smaller than a ping pong ball).  Then place one at a time in cinnamon sugar filled dish and roll to cover.  Then place them 2 inches apart on an ungreased cookie sheet.


Step Five: Bake until cookies are light brown and soft.  About 8 to 10 minutes.


Step Six: Dip in a glass of milk and enjoy :)

Wednesday, April 13, 2011

Cherry Chocolate Cake

This is an old family favorite. At my family's house we make this every few months. I think I had this as my birthday cake for half of my birthdays. Luckily, it is pretty easily made gluten free. I will include the original recipe for all of you gluten eaters out there :p.

Original Recipe

Cake:
1 pkg. fudge cake mix
21 oz. can cherry pie filling
1 teaspoon almond extract
2 eggs, beaten
1/2 of the cherry can of water

Frosting:
1 cup sugar
1/3 cup milk
5 tablespoons butter
1 cup semisweet chocolate chips

Simple huh!

Gluten Free Version

Cake:
1/2 cup cocoa powder
3/4 cup rice flour
6 tablespoons tapioca flour/starch
6 tablespoons cornstarch or potato starch(not flour)
1 teaspoon baking soda
1/2 teaspoon baking powder
1/2 teaspoon salt
1 1/4 cup sugar
21 oz. can cherry pie filling (make sure it doesn't have modified food starch--modified cornstarch is okay)
1 teaspoon almond extract
2 eggs, beaten
1/2 of the cherry can of water

Frosting:
1 cup sugar
1/3 cup milk
5 tablespoons butter
1 cup chocolate chips

Step One: Preheat oven to 350 degrees. Grease a 9x13 inch pan.

Step Two: Combine dry ingredients for the cake. Then add wet ingredients. Mix by hand, you want the cherries to stay whole. But if they don't stay whole, don't stress, it will still be delicious. Once everything is mixed (make sure you don't have any pockets of dry ingredients) it will be very fudgy and thick. Not like a typical cake batter.Step Three: Pour into a greased 9x13 inch pan. Bake for 25-30 minutes. You will know that it is done when the edges of the cake have pulled slightly away from the pan. I prefer the middle a little moist. When you stick a knife in the middle you don't want it coated, but a few moist crumbs remaining are perfect!

Meanwhile...

Step Four: In a saucepan, combine sugar, milk, and butter. Stir constantly and bring to a boil. Boil for one minute. Remove from heat. Stir in chocolate chips until smooth.Step Five: Pour chocolate frosting over cake when it is lukewarm.----My roommates used to call this frosting "tantalize your tongue frosting". I think the title fits perfectly. It almost like a soft fudge that hardens on one side and stays soft on the other. Of course that's tongue tantalizing.

Step Six: Enjoy every bite! I love sharing this cake with my neighbors.

Sunday, April 10, 2011

Garlic Chicken Artichoke Pizza

At my bridal shower my younger sister decided to play the game where you have to answer questions that your fiancée answered earlier that day. For example, his question: what is your favorite color? Green. What is Mallory's favorite color? Red. Then they ask me those same questions: What is Aaron's favorite color? Green. What did he say your favorite color was? Red. Etc. Whenever I answered a question wrong I had to put a piece of Bubbalicious bubble gum in my mouth and chew. Well when you have like 30 questions you're bound to get some wrong. I think by the end of the game I was chewing a total of 11 pieces of gum. Not pretty. One of the questions I had to answer was: What's Aaron's favorite food? Well he pretty much likes anything, so I guessed. Pizza! And I got it right. Therefore, we have pizza quite a lot. And we love making up topping combos. This is one of those inventions.

The Dough!For this dough I used a focaccia bread recipe and adapted it to suit what I needed. I like it because you don't need to wait for the bread to rise any longer than it takes you to make the toppings. The only downside is that you bake it on a cookie sheet instead of a round pizza pan. I'm sure it would work on a round pizza pan though, you would just need to shape it into a circle. :) You will need:
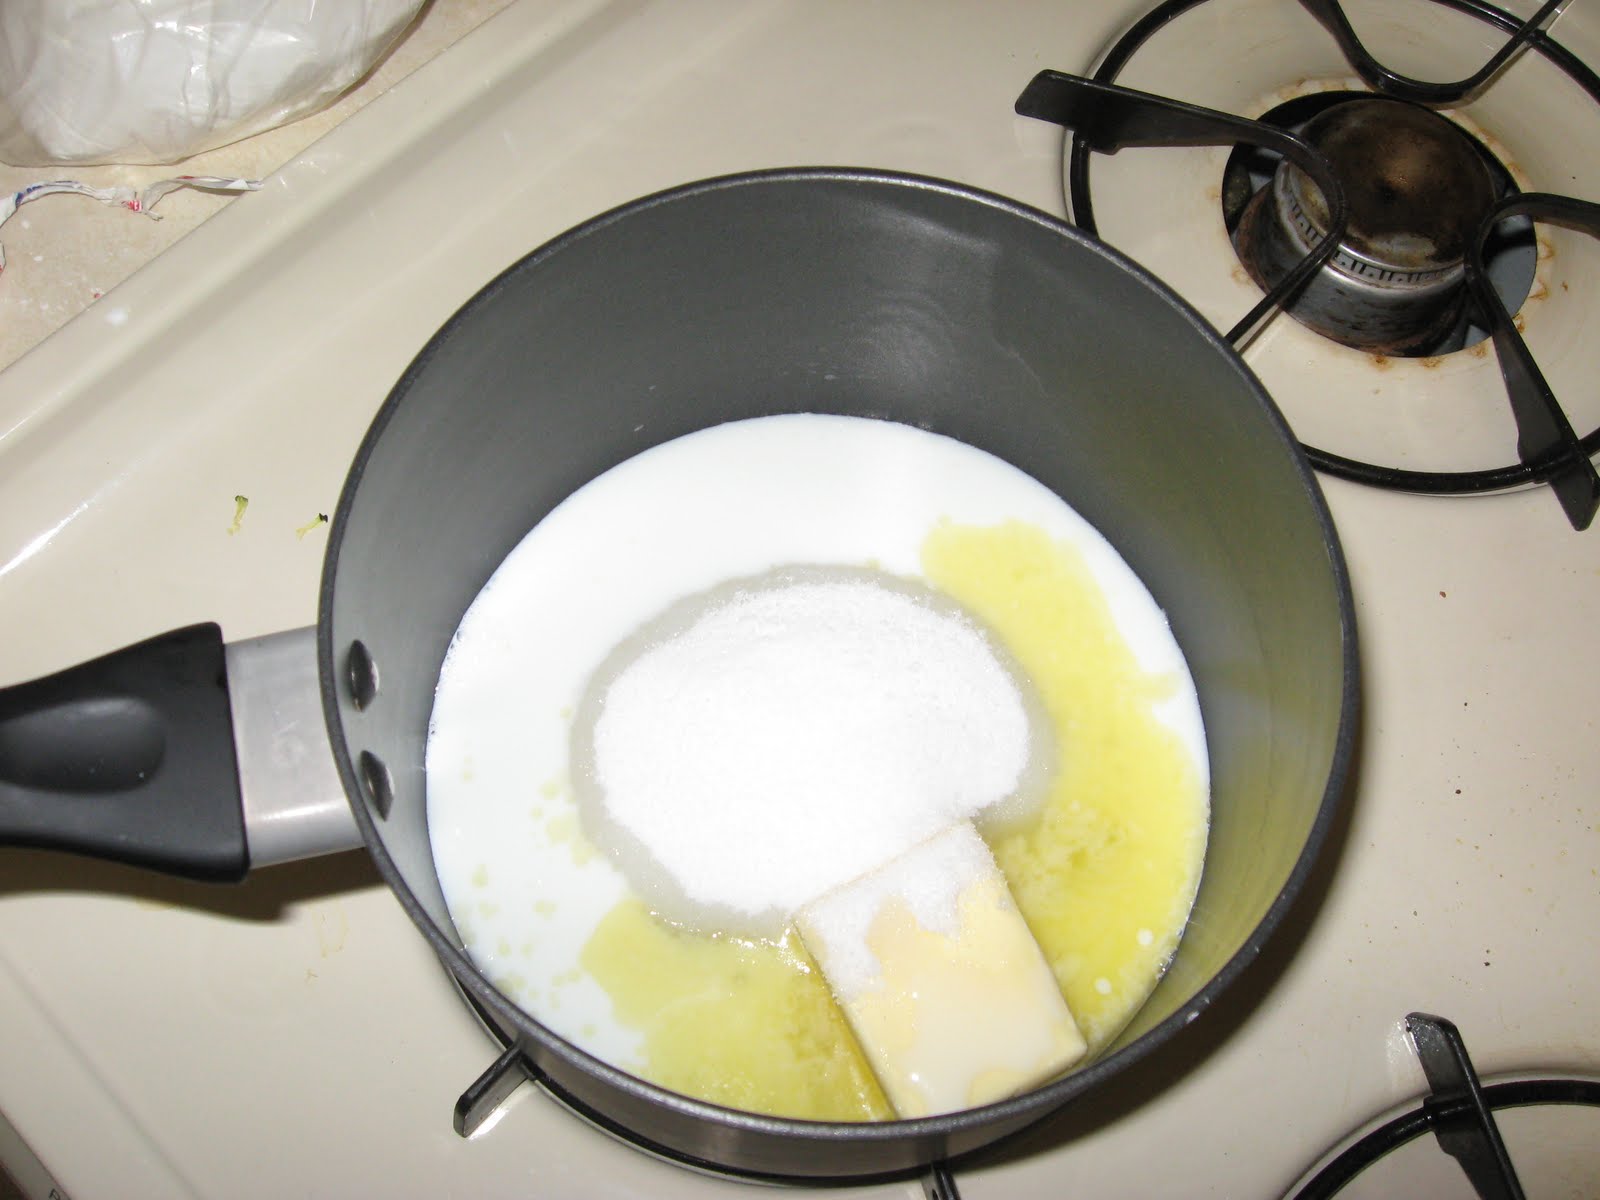
2 teaspoons sugar
1 cup lukewarm water
2 1/4 teaspoons dry yeast
1 cup rice flour
1/2 cup tapioca flour
1 teaspoon xanthan gum/guar gum
2 1/4 tablespoons dry milk powder
1 tablespoon dry minced onion
1 1/2 teaspoon Italian seasoning
1/3 teaspoon salt
1 egg
1 tablespoon olive oil
1/2 teaspoon vinegar

Step One: Mix all ingredients together for about 2 minutes. Let rise in bowl while making a topping. Preheat oven to 400 degrees.
Step Two: Grease a cookie sheet. (Don't forget this step)
Step Three: Spread dough on the cookie sheet with a spatula. (To get it to spread better I spray my spatula with cooking spray.) Step Four: Bake for 8* minutes. Not all the way done, but enough that the top is no longer "doughy".
*If you like your crust crispy bake for longer. Try 10-15 minutes.
Step Five: Put toppings on. Step Six: Bake for another 8 minutes. Cheese must be melted.

Meanwhile...

Toppings:
You will need:
1/2 cup ranch dressing (I used Bakers & Chefs brand, because it's gluten free)
4 cloves garlic, crushed (I used 2 teaspoons of minced garlic)
1 fresh sliced Roma tomato
1 zucchini sliced and halved
1 jar of Cara Mia marinated artichokes, California style (any brand will do though)
mozzarella cheese (or any cheese you prefer), grated
2 chicken breasts, cut into 1" cubes
1 sliced bratwurst
Salt and Pepper to taste

Step One: Cook chicken with 1 tablespoon of olive oil in a medium size fry pan. Make sure it is cooked all the way through. I chose to season with season salt and pepper. To check if the chicken is done, cut one of your chunks in half. If the chicken is white (not pink) and the juice runs clear, then it is ready. Once the chicken is cooked, add the sliced bratwurst. Leave in for 2-3 minutes. Just until it is warm and starting to brown.
Step Two: Sauté zucchini in 1 teaspoon of olive oil.
Step Three: Mix garlic and ranch in a bowl. Then spread on pizza crust after it has cooked for 8 minutes.
Step Four: Sprinkle pizza with a little bit of cheese.
Step Five: Top with zucchini, tomato, cooked chicken chunks, and sliced bratwurst. Sprinkle more cheese over the top.
Step Six: Place in oven for 8 more minutes (still at 400 degrees).
Step Seven: Eat and Enjoy! (My favorite step.)

Saturday, April 9, 2011

Sandwich Bread!

I love bread. It is one of the things I would cry about no longer being able to have when I found out I had Celiac Disease. I remember for months eating just corn tortillas. I have been searching for the perfect bread recipe for years. I found it! This is delicious, easy, holds up well, is good hot or cold, and fills your house with the smells of yumminess.
You will need:

1 1/3 cup brown or white rice flour
1 1/3 cup tapioca flour/starch
1 1/3 cup cornstarch
1 tablespoon potato flour (not starch)
1 tablespoon xanthan gum (or guar gum)
2 teaspoons salt
2 1/4 teaspoons yeast
1/2 cup powdered milk
4 large eggs
1/4 cup butter (cut up in chunks)
2 teaspoons cider vinegar
1/3 cup honey
2 cups warm water

Step One: Grease and flour two 8" bread pans.
Step Two: Mix dry ingredients together in a medium size bowl and set aside.

Step Three: Place eggs, butter, vinegar, and honey in the mixing bowl of a stand mixer using the paddle attachment*, mix ingredients together for about 30 seconds. The butter will be chunky**.

*The consistency of the finished dough is like cake batter. I believe that if you used a hand mixer it would work just as well as a stand mixer with the paddle attachment.
**I cut my butter into chunks before doing this.

Step Four: Add half the dry ingredients to the wet mixture. Mix just until blended. Add remaining dry ingredients and mix for approximately 30 seconds, until blended.

Step Five: With the mixer on low speed (or else you will get splashed), slowly add warm water until well absorbed (I stopped in the middle and scraped the sides with a rubber spatula). Turn the mixer to medium high speed and beat for four minutes. Bread dough should resemble cake batter.
Step Six: Spoon dough into prepared pans. Let rise 50-60 minutes. Preheat oven to 375.


Step Seven: Place pans in oven on middle rack and bake for 45-60 minutes. (I usually do 45 - 50 because I like it soft and fluffy.) Insert a knife into the top of the loaf and it should come out clean. (If it's not completely clean and you like your dough softer then that's fine.)***updated June 2013  Since moving to the south and using a different oven...this recipe works better if baked for 55 to 60 minutes.  45 minutes makes it  heavy and squished. (so really it's all up to you!)

Step Eight: Let bread cool in pans for 10 minutes then remove loaves from pans and place on a rack to cool.

Step Nine: Eat and enjoy!